What Are the Different Types of Printed Circuit Boards and Their Uses?

Printed circuit boards (PCB) are essential components found in almost all electronic devices. They are the backbone of modern technology, providing a means to connect and organize electronic components, allowing them to function smoothly. There are various types of printed circuit boards, each with its unique design and purpose. In this article, we will explore the different types of PCB and their uses.

Single-sided PCB:

A single-sided PCB is the most basic type of circuit board and is the most commonly used. As the name suggests, this type of board only has one layer of conductive material (usually copper) on one side. Passive components such as resistors, capacitors, and diodes are placed on the top side of the board, while all the traces (electrical pathways) and solder pads are on the bottom side. The use of single-sided PCB is typically limited to simple, low-cost devices such as calculators, toys, and LED lights.

Double-sided PCB:

A double-sided PCB has conductive material on both sides of the board, allowing for more complex circuit designs. This type of board is commonly used for more advanced electronic devices, such as printers, mobile phones, and home appliances. The components are mounted on both sides of the board, and the traces are routed through vias (small holes drilled in the board) to connect the top and bottom layers. Double-sided PCB are relatively affordable and more versatile than single-sided ones.

Multi-layer PCB:

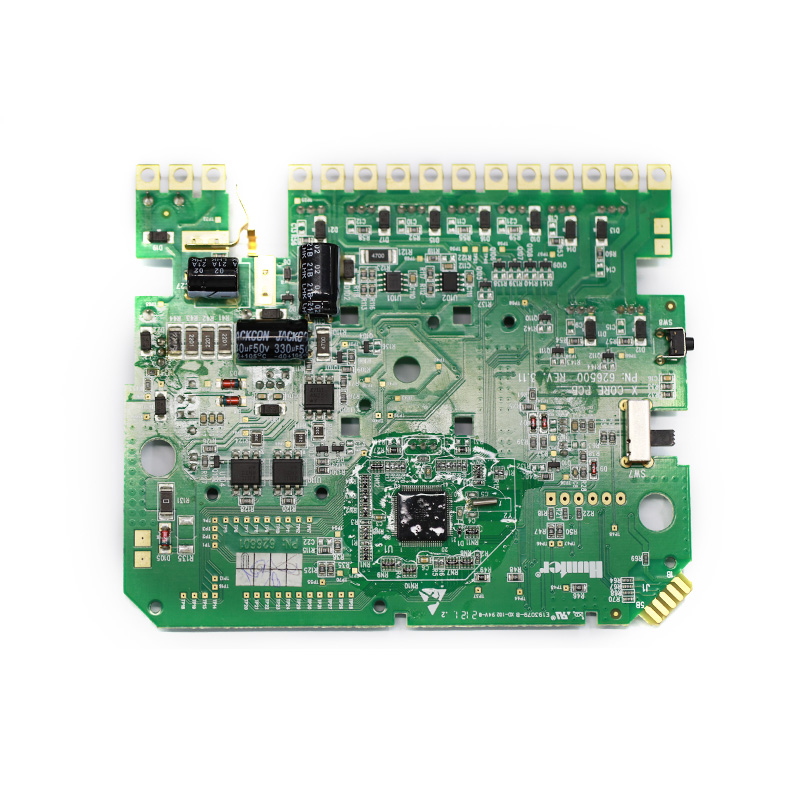
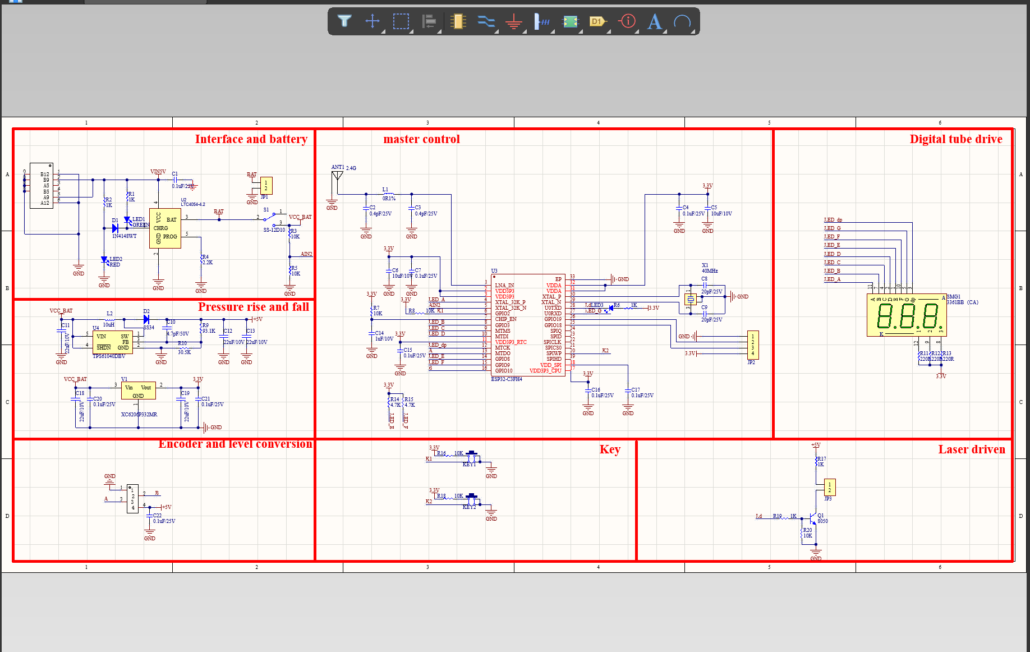
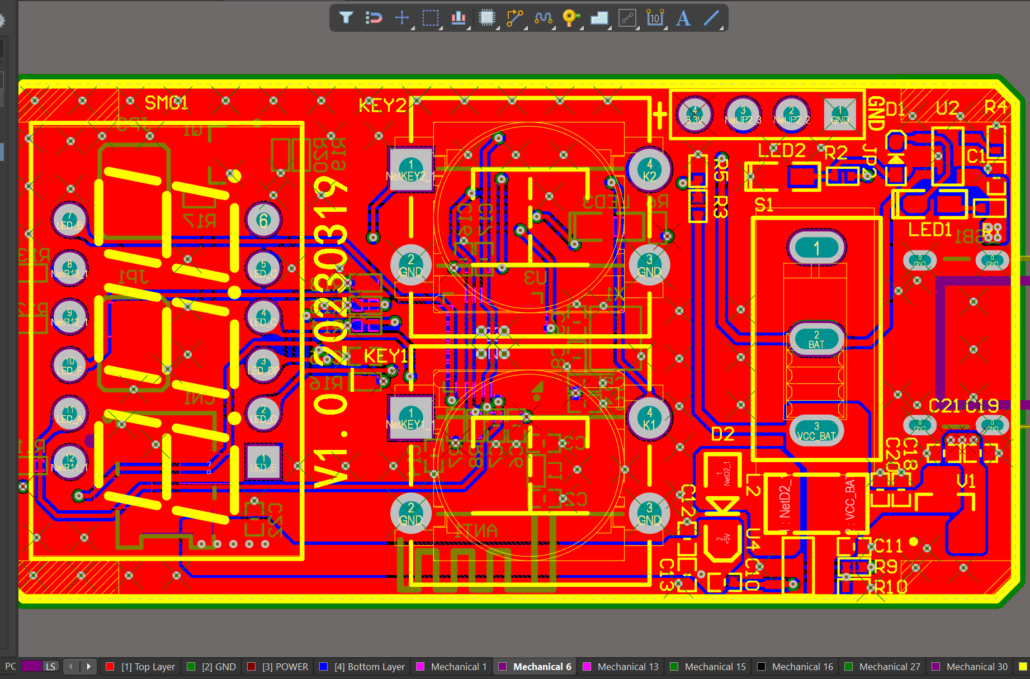
As the name implies, a multi-layer PCB has multiple layers of conductive material and insulating material, sandwiched together to form a single board. This type of board is typically used for advanced electronic devices, where space is limited, and high functionality is required. Multi-layer PCB are commonly used in computers, routers, and other complex devices. They can have anywhere from 4 to 20+ layers, depending on the complexity of the circuit layout.

Rigid PCB:

A rigid PCB is the most common type of PCB and is made of rigid materials such as fiberglass or epoxy resin. It is stiff and cannot be bent, making it suitable for most electronic devices. Rigid PCB are available in single, double, and multi-layer configurations.

Flexible PCB:

A flexible PCB, also known as a flex PCB, is made of flexible materials such as polyimide or polyester. These materials allow the board to bend or twist, making them ideal for electronic devices that require a custom shape. Flex PCB are commonly used in consumer electronics, such as smartphones, tablets, and wearables. They are also used in aerospace, military, and medical applications, where weight, size, and durability are crucial factors.

Rigid-Flex PCB:

A rigid-flex PCB is a combination of rigid and flexible PCB, providing both advantages within a single board. This type of board is designed to have a rigid section for components that require stability and a flexible section for moving or bending parts. These boards are commonly used in smartphones, cameras, and other electronic devices with moving parts.

High-Frequency PCB:

High-frequency PCB are designed to handle signals in the high-frequency range, typically above 1GHz. They are made of special materials, such as PTFE (polytetrafluoroethylene) or ceramic, which have low dielectric loss and can maintain a stable signal. High-frequency PCB are used in applications such as satellite communications, radar systems, and medical equipment.
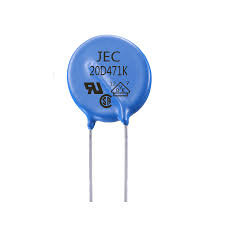
Metal-Core PCB:

A metal-core PCB has a metal layer as the base, usually aluminum, with a layer of insulating material on top and a layer of copper on the bottom. This type of board is commonly used for high-power applications, as the metal layer acts as a heat sink, dissipating heat generated by the components. Metal-core PCB are used in LED lighting, power supplies, and automotive electronics.

High-Density Interconnect (HDI) PCB:

HDI PCB are designed to have a high-density of components in a compact space. They use microvias, blind vias, and buried vias to connect the layers, allowing for a more complex and compact circuit design. HDI PCB are used in smartphones, tablets, laptops, and other compact electronic devices.

Integrated Circuit (IC) Substrate PCB:

IC substrate PCB are used to mount the integrated circuits (ICs) of electronic devices. They are typically made of ceramic or glass material, and the ICs are mounted on top using wire bonding or flip-chip technology. IC substrate PCB are used in computers, telecommunications, and other electronic devices that require advanced microchips.

In conclusion, printed circuit boards come in various shapes, sizes, and configurations to suit different electronic devices. Each type of PCB has its unique design and purpose, making them essential components of modern technology. As technology continues to evolve, so will the design and use of printed circuit boards, making them an integral part of our daily lives.

Introduction to Printed Circuit Boards: Understanding the Basics

Printed Circuit Boards (PCB) are widely used in today’s electronic devices, such as smartphones, computers, and even household appliances. They are an essential component in the manufacturing of electronic products and have greatly evolved over the years. In this article, we will delve into the basics of PCB – how they work, their types, and their key components.

What is a Printed Circuit Board?

A Printed Circuit Board, also known as a PCB, is a thin board made of non-conductive material, usually fiberglass, that serves as the base for mounting and connecting electronic components. It is designed to provide a stable platform for the attachment of electrical components and serves as an interconnected pathway for the flow of electric signals between them. The board is printed with thin layers of conductive material, typically copper, which forms the circuitry and allows for the transmission of electricity.

Types of Printed Circuit Boards

There are various types of PCB  each serving a different purpose. The most commonly used types are single-sided, double-sided, and multi-layer PCBs.

1. Single-Sided PCB: These are the most basic and commonly used type of PCB. They have a layer of conductive material, usually copper, on one side of the board, and the components are mounted on the other side. Single-sided PCB are mainly used in simple electronics with relatively few components.

2. Double-Sided PCB: As the name suggests, double-sided PCB have a layer of conductive material on both sides of the board. This allows for greater flexibility in design and enables the use of more complex circuits.

3. Multi-Layer PCB: These PCBs consist of several layers of conductive material separated by insulating layers, with the components mounted on the outer layers. Multi-layer PCB are used in complex electronics where space is limited and compact designs are required.

Key Components of a Printed Circuit Board

1. Substrate: The substrate is the base material of the PCB, usually made of fiberglass or composite epoxy material. It provides the necessary support for the conductive layers and components.

2. Conductive Layers: These are thin layers of conductive material, typically copper, that make up the circuitry of the PCB. They are usually etched onto the substrate and are responsible for carrying the electrical signals between components.

3. Components: Electronic components such as resistors, capacitors, and integrated circuits (ICs) are mounted on the PCB. They are connected to the conductive layers through holes called vias or by traces on the surface of the board.

4. Solder Mask: The solder mask is a protective layer that covers the conductive layers, leaving only the connection points exposed. It protects the PCB from corrosion and protects against short circuits.

5. Silkscreen: This is the layer on top of the solder mask that is used to label and identify components and their placement on the board. It usually contains information such as component names, reference numbers, and polarity.

How do Printed Circuit Boards Work?

The functioning of a PCB is relatively simple. The components on the board are connected by a network of conductive paths, also known as traces, which allow the flow of electricity between them. These paths are created by etching the conductive layers, usually copper, to form a pattern that connects the components in the desired configuration.

The components are mounted on the board by soldering them to the conductive pads, which serve as connection points. The soldering process involves heating the pads and components, then melting the soldering material, usually a mixture of tin and lead, to create a strong and permanent bond.

Advantages of Using Printed Circuit Boards

The use of PCBs offers several advantages over other methods of connecting electronic components. These include:

1. Compact and Lightweight: PCBs are compact and lightweight, making them ideal for use in smaller electronic devices.

2. High Reliability: Due to their design and manufacturing process, PCBs have proven to be highly reliable and durable.

3. Cost-effective: The use of PCBs significantly reduces the cost of production and assembly of electronic devices, making them a cost-effective option.

4. Easy to Repair and Replace: In the event of a faulty component, the PCB can be easily repaired or replaced without the need for complex and time-consuming re-wiring.

Conclusion

Printed Circuit Boards are vital components in today’s electronic devices, allowing for compact and efficient designs. They come in various types, each serving different purposes, and are made up of key components such as the substrate, conductive layers, components, solder mask, and silkscreen. Their use offers numerous advantages, making them an essential element in the manufacturing of electronic products. As technology continues to advance, we can expect to see further advancements in the design and use of PCBs.


The Evolution of Printed Circuit Boards: From Early Designs to Modern Technology

Printed circuit boards (PCBs) are an essential component in most modern electronic devices. They serve as the foundation for electronic connections and are responsible for routing the electrical signals between the different components of a circuit. PCBs have undergone significant changes since their first inception, and their evolution has closely mirrored advancements in technology.

The Early Days

The origin of PCBs can be traced back to the late 19th century when they were used in a rudimentary form for telephone exchanges. These early PCBs were known as “printed wires” and were created by attaching thin metal wires to a wooden board. This early form of PCB was used to connect telephone switchboards and reduce the need for manual rewiring.

In the early 1900s, scientists started experimenting with the use of thin copper foils on flat bases to create electrical circuits. This led to the invention of “printed” wires on flat boards made by hand, which also reduced the size and complexity of electronic devices. These early PCBs were primarily used in military equipment and radios during World War II.

The Advent of Mass Production

The first commercially successful mass-produced PCB was developed in 1942 by Paul Eisler, an Austrian inventor. His innovative design used conductive ink on a Bakelite board, marking the beginning of modern PCB technology. His creation was initially used in the radio industry, but its use quickly spread to other electronic devices.

The introduction of transistors in the 1950s revolutionized the electronic industry. This development led to smaller and more efficient devices, and PCBs played a crucial role in their production. The early PCB designs used point-to-point connections, which limited the complexity and size of circuits. However, with the introduction of transistors, manufacturers were able to add more components to a PCB, leading to the creation of more advanced electronic devices.

The Rise of Integrated Circuits

In the late 1950s, scientists developed the first integrated circuit (IC), which was a significant breakthrough in the evolution of PCBs. ICs allowed for the miniaturization of electronic components, making devices smaller, faster, and more efficient. This technology paved the way for PCBs to become an integral part of electronic devices, from televisions and radios to computers and mobile phones.

As electronic devices became more complex and the demand for smaller and more efficient devices increased, PCBs continued to evolve. In the 1960s, the through-hole method of assembling components on a PCB was introduced, which allowed for the use of larger and more complex circuits. This method involved drilling holes into the board and inserting component wires through them before soldering them in place.

The Rise of Surface Mount Technology (SMT)

In the 1980s, surface mount technology (SMT) was introduced, bringing another significant change to the manufacturing of PCBs. SMT involves attaching components directly onto the surface of a PCB, eliminating the need for drilling holes. This method increased the complexity and density of electronic circuits, making devices even smaller and more powerful.

SMT also allowed for the use of automated assembly processes, reducing the cost and time required to produce PCBs. This resulted in the mass production of electronic devices, making them more accessible and affordable for the general population.

The Evolution Continues

The evolution of PCBs is ongoing, with new advancements and innovations being introduced regularly. Today, manufacturers are using advanced techniques, such as multi-layer PCBs and flexible PCBs, to further improve the performance and capabilities of electronic devices.

Multi-layer PCBs have multiple layers of circuitry, allowing for more complex circuits without increasing the size of the board. This technology is used in devices such as computers and smartphones, where space is limited, but functionality is crucial.

Flexible PCBs, as the name suggests, can be bent or twisted without damaging the circuitry. This technology has allowed for the creation of devices such as foldable smartphones and wearable technology, where rigid PCBs would not be suitable.

In addition to these advancements, there has also been a push towards more environmentally friendly PCB production. Lead-free and halogen-free materials are being used, and recycling methods are being developed to reduce the impact of electronic waste on the environment.

Understanding the specific demands concerning varistors in PCB assembly (PCBA) design is essential. Here’s a breakdown of what PCBA design demands from varistors:

Operating Temperature/Storage:

Maintain the working temperature of the circuit within the specified range outlined in the product’s specifications. After assembly, store the circuit within the product’s specified temperature range when it’s not operational. Avoid using temperatures higher than the specified maximum operating temperature.

Operating Voltage:

Keep the voltage applied across the varistor terminals below the maximum permissible voltage. Incorrect usage might result in product failure, short circuits, or potential heating issues. Although the usage voltage should be below the rated voltage, in cases of continuous high-frequency or pulse voltage, thoroughly assess the varistor’s reliability.

Component Heating:

Ensure that the surface temperature of the varistor remains below the highest specified operating temperature (considering temperature elevation caused by the component’s self-heating) as dictated in the product specifications. Confirm varistor temperature elevation due to circuit conditions under the actual operational state of the equipment.

Restricted Usage Areas:

  • Varistors shouldn’t be used in the following environments:
  • Places with water or saltwater.
  • Areas prone to condensation.
  • Locations with corrosive gases (such as hydrogen sulfide, sulfur dioxide, ammonia, etc.).
  • Conditions where the vibration or shock exceeds the specified range in the product specifications.

PCB Selection:

The performance of aluminum oxide circuit boards may deteriorate due to thermal shock (temperature cycling). It’s crucial to confirm if the circuit board affects the product quality during use.

Pad Size Setting:

More soldering leads to increased pressure on the varistor, leading to quality issues like surface cracks. Therefore, when designing the solder pad on the circuit board, suitable shapes and sizes must be set according to the soldering volume. Maintain an equal size for the solder pads. Uneven solder volumes on the left and right pads can cause delayed solidification on the side with more solder, leading to stress-induced cracks on the other side during solder cooling.

Component Configuration:

Installing varistors in PCBA or subjecting circuit boards to bending during operation may result in varistor fractures. Hence, configuring components must consider the circuit board’s resistance to bending and avoid applying excessive pressure.

In the daily production process, meticulous attention to various production details is crucial to ensuring superior manufacturing quality. Adhering strictly to stipulated requirements with a dedicated and responsible approach during production is fundamental for lean processing, which is pivotal for the sustenance of business growth. Below, our team at the SMT Mounting Factory in MTI PCBA has compiled a guide to key considerations during SMT assembly processes. Let’s delve into it together:

Workshop Temperature and Humidity

Maintaining optimal conditions in the production workshop is essential. For SMT workshops, the ideal temperature is 24±2℃, with humidity levels around 40±10%RH. Extreme temperatures can lead to soldering issues like tin beads or solder bubbles and stencil-related problems during printing.

Material Storage

Pre-SMT assembly, the storage conditions of materials often get overlooked. For instance, PCBs exposed to air for extended periods tend to absorb moisture, resulting in poor soldering later on. Additionally, special attention is required for the storage of BGA and IC chips, necessitating a dry environment to prevent oxidation.

Solder Paste

Solder paste, a core material in SMT assembly, primarily comprises tin powder and flux. As flux plays a significant role in the entire soldering process, selecting high-quality solder paste is crucial. Pre-use procedures like reflow and stirring of solder paste are essential details not to be overlooked.

Soldering Process

The reflow soldering process holds a critical position in SMT assembly, directly impacting soldering quality. Surface mount soldering quality is among the most critical factors. Reflow soldering considerations typically involve oven temperature, preheating, and optimum temperatures.

Post-Reflow Quality Control (QC)

Product quality represents the factory’s reputation, and soldering quality significantly influences it. Exceptional products are essential for maintaining a competitive edge in the PCBA industry. Thus, stringent control over soldering process quality is imperative, focusing on details to avoid defects like open solder joints, solder skips, or bridging.

For more information on rapid prototyping in SMT assembly, high-end PCBA manufacturing, SMT mounting pricing, and more, feel free to explore MTI PCBA  for detailed insights.

Empowering Connectivity: The Evolution of 5G CPE Technology

5G CPE, or 5G Customer Premise Equipment, is a device that connects to a 5G network and provides internet access to other devices via Wi-Fi or Ethernet. 5G CPE can offer faster and more reliable internet service than traditional routers or modems, as it can support higher bandwidth, lower latency, and wider coverage. In this article, we will share our development experience for 5G CPE, from schematic design to PCB assembly.

Schematic Design

The first step of our development process was to design the schematic of the 5G CPE device. The schematic is a graphical representation of the electrical connections and components of the device. The schematic shows how the power supply, the 5G module, the Wi-Fi module, the Ethernet module, the antenna, and other parts are connected and configured. The schematic also specifies the values and ratings of the resistors, capacitors, inductors, diodes, transistors, and other components.

To design the schematic, we used [EAGLE], a software tool that allows us to create and edit schematic diagrams easily and efficiently. EAGLE has a library of thousands of standard components that we can drag and drop into our schematic. EAGLE also has a simulation feature that allows us to test and verify our schematic before moving on to the next step.

PCB Layout

The second step of our development process was to design the PCB layout of the 5G CPE device. The PCB layout is a physical representation of the arrangement and placement of the components and traces on the printed circuit board. The PCB layout shows how the components are mounted on the board, how the traces are routed between them, and how the board is shaped and sized.

To design the PCB layout, we used [KiCad], a software tool that allows us to create and edit PCB layouts easily and efficiently. KiCad has a feature that allows us to import our schematic from EAGLE and automatically generate a PCB layout based on it. KiCad also has a 3D viewer that allows us to see how our PCB layout looks like in real life.

PCB Assembly

The third and final step of our development process was to assemble the PCB of the 5G CPE device. The PCB assembly is the process of soldering the components onto the printed circuit board according to the PCB layout. The PCB assembly requires precision and accuracy, as any mistake or defect can affect the performance or functionality of the device.

To assemble the PCB, we used [JLCPCB], a professional PCB manufacturer that offers high-quality PCB assembly services at low prices. JLCPCB has a feature that allows us to upload our PCB layout file and order our PCBs online. JLCPCB also has a large inventory of standard components that we can choose from for our PCB assembly. JLCPCB can deliver our assembled PCBs within a few days.

We have successfully developed 5G CPE from schematic design to PCB assembly using various software tools and services. We have learned a lot from this project, and we are proud of our achievement. We hope that our development experience can inspire and help others who are interested in creating their own 5G CPE devices. If you have any questions or feedback, please feel free to contact us. Thank you for reading.


Wire Harness vs. Cable Assembly: Understanding the Differences

What is a Wire Harness?

A wire harness is a collection of wires or cables that are wrapped or bound together by an external material, such as PVC, rubber, or nylon. The purpose of a wire harness is to keep the wires or cables neat and tidy, and to facilitate their installation and maintenance. A wire harness does not provide much protection for the wires or cables inside, as they are usually already insulated by their own sheaths. A wire harness is mainly used for organizing wires or cables that are located in a relatively safe and stable environment, such as inside a computer case, a car dashboard, or a home appliance.


Advantages of Wire Harnesses

  • Reliability: Wire harnesses ensure consistent and reliable electrical connections, reducing the risk of short circuits or loose connections.
  • Simplified Installation: They simplify installation processes by eliminating the need to connect individual wires one by one.
  • Improved Maintenance: Labeling and organization make it easier to identify and replace faulty components when necessary.
  • Space Efficiency: Wire harnesses help manage and optimize the use of space within electronic devices and systems.

What is a Cable Assembly?

A cable assembly is a group of wires or cables that are enclosed by a single protective covering, such as thermoplastic, vinyl, or metal. The purpose of a cable assembly is to shield the wires or cables from external factors, such as heat, moisture, abrasion, vibration, chemicals, or electromagnetic interference. A cable assembly is designed to withstand harsh and demanding conditions, such as in industrial machinery, outdoor equipment, or aerospace application

Wire harnesses and cable assemblies are two different solutions for organizing and protecting electrical components. Wire harnesses are low-cost and easy-to-install bundles of wires or cables that are wrapped or bound together by an external material. Cable assemblies are high-protection and high-performance groups of wires or cables that are enclosed by a single protective covering. The choice between wire harnesses and cable assemblies depends on the environment, the performance, the space, and the budget of the application. For more information on wire harnesses and cable assemblies, please contract MTI now !


Lorem Ipsum is simply dummy text of the printing and typesetting industry. Lorem Ipsum has been the industry’s standard dummy text ever since the 1500s